In the rapidly evolving landscape of generative AI, the ability to create stunning images from text prompts has become commonplace. Yet, the true mastery often lies not just in generation, but in precision editing. For creators, designers, and digital artists, the challenge isn't merely producing an image, but refining it with surgical accuracy – making localized changes without inadvertently corrupting the original's essence. This is where ComfyUI, with its modular, node-based architecture, truly shines. This article will delve deep into how to achieve consistent, targeted `img2img` edits in ComfyUI, ensuring your modifications, whether to a nuanced facial expression or the notoriously tricky anatomy of hands, maintain the integrity of your original composition, lighting, pose, and overall style. Prepare to unlock a new level of control over your AI artistry.
The Precision Imperative: Why Targeted Editing Matters in AI Artistry
Generative AI tools have revolutionized content creation, offering unparalleled speed and creative exploration. However, the initial output, no matter how impressive, rarely meets every specific requirement. The need to adjust, refine, and correct becomes paramount, especially when dealing with client work, detailed projects, or simply striving for perfection. Traditional `img2img` often operates globally, meaning a small change in one area can ripple unpredictably across the entire image, leading to a loss of the desired aesthetic.
Consider a scenario: you've generated a breathtaking portrait, but the fingers are slightly distorted, or a background element needs a subtle tweak. Applying a broad `img2img` pass risks altering the subject's pose, the delicate interplay of shadows, or the unique stylistic brushstrokes that define the piece. This challenge underscores the critical demand for targeted, consistent editing. Without it, creators are often forced into repetitive generations, chasing an elusive 'perfect' output rather than iteratively refining an excellent one. A 2023 survey by MIT Technology Review highlighted 'lack of precise control' as a top frustration among professional AI artists, underscoring the gap between raw generation and refined artistry.
ComfyUI's Modular Advantage: A Workflow Paradigm Shift
While many generative AI interfaces offer simplified user experiences, ComfyUI stands apart with its node-based workflow. This visual programming approach might seem daunting at first glance, but it grants users an unparalleled degree of control over every step of the image generation and manipulation process. Unlike monolithic interfaces like Automatic1111 or Fooocus, which abstract away much of the underlying complexity, ComfyUI exposes the granular operations:
- Explicit Control Flow: You define the exact sequence of operations, from loading models and samplers to applying masks, ControlNet conditions, and various image processing steps.
- Interchangeable Components: Almost every aspect—samplers, schedulers, models, VAEs, ControlNet units—can be swapped out and combined in novel ways, fostering experimentation and optimization.
- Reusability: Complex workflows can be saved, shared, and reloaded, serving as templates for consistent results across multiple projects.
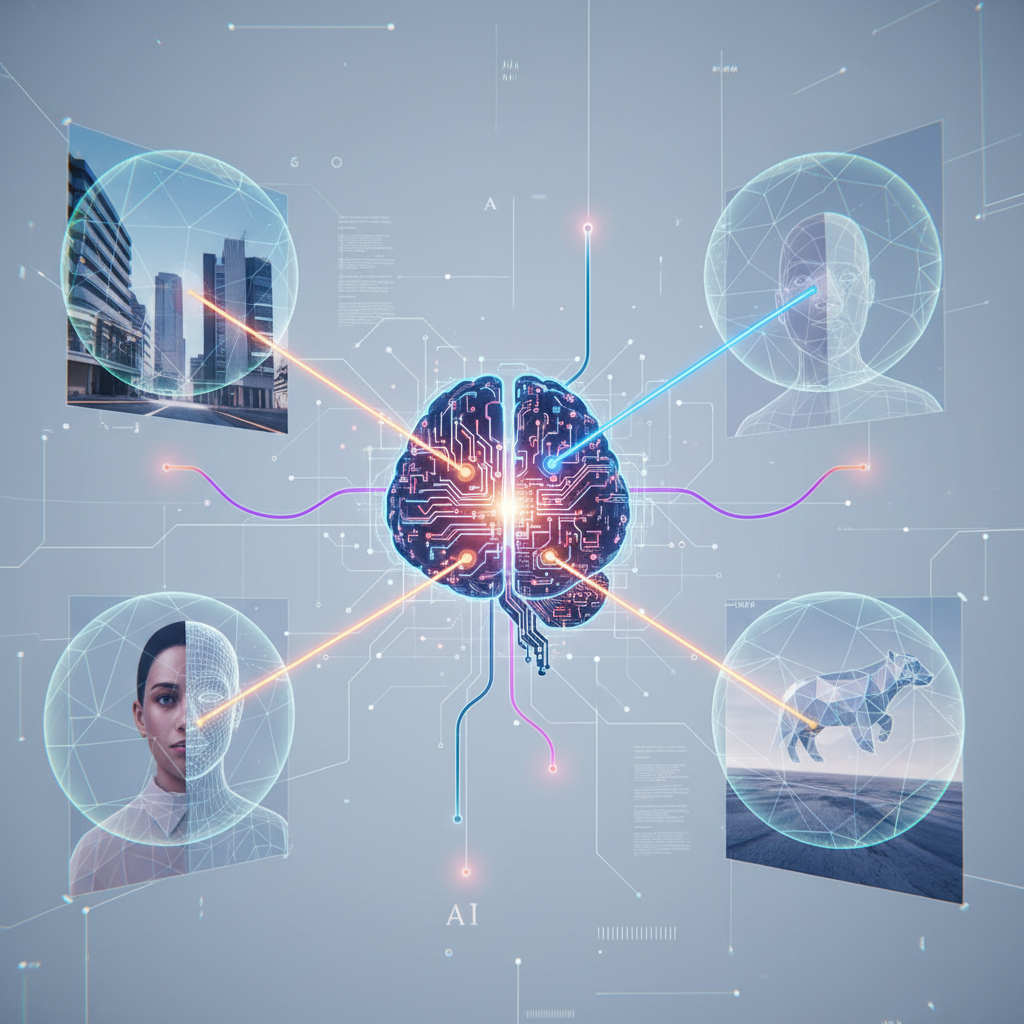
This modularity is not just about complexity; it's about empowerment. It allows us to isolate specific parts of the `img2img` process, focusing computational effort and creative intent precisely where it's needed. For targeted edits, this means we can apply transformations only to masked regions, guide specific elements with ControlNet, and fine-tune denoising strengths to preserve global consistency while local changes take effect.
Core Strategies for Consistent Localized Edits
Achieving truly consistent and targeted `img2img` edits in ComfyUI requires a multi-faceted approach, combining masking, structural guidance, model selection, and nuanced parameter tuning.
The Power of Masking: Latent vs. Pixel Space
Masking is the cornerstone of targeted editing. It dictates *where* the AI model should apply its generative power. In ComfyUI, you primarily work with two types of masks:
- Pixel Space Masks: These are typically black and white images where white areas indicate the region to be edited and black areas are protected. They are applied early in the workflow, often before the image is encoded into latent space. Pixel masks are intuitive for users, as they directly correspond to the visual image.
- Latent Space Masks: These masks are applied after the image has been encoded into the model's compressed latent representation. Editing in latent space is often more efficient and can sometimes produce more coherent results as the model works directly with its internal understanding of the image. The key is understanding how the mask is upscaled or downscaled to match the latent resolution.
For fine-grained edits like hands, starting with a precise pixel mask created in an external editor (like Photoshop or Krita) then converting it to a latent mask within ComfyUI often yields the best results. The `Apply Latent Mask` node is crucial here, allowing you to blend or multiply your mask with the existing latent representation.
ControlNet's Guiding Hand: Preserving Structure and Pose
ControlNet is perhaps the most revolutionary advancement for consistent editing. It allows you to 'steer' the diffusion process using an input image (the 'control map') that dictates specific structural, compositional, or stylistic elements. For targeted `img2img`, ControlNet becomes an indispensable tool for maintaining elements outside your masked region, and even for guiding the changes *within* the masked region.
- ControlNet Inpaint: This is your go-to for localized edits. By feeding it your original image and a precise mask, it instructs the model to only modify the masked area while respecting the surrounding pixels. Using an `Inpaint model` with `ControlNet Inpaint` is a powerful combination.
- ControlNet OpenPose: Essential for maintaining or correcting human poses, especially hands and fingers. You can generate an OpenPose map from your original image and feed it into ControlNet, ensuring the model adheres to the skeletal structure. For hand specific issues, a detailed hand-pose preprocessor can be particularly effective.
- ControlNet Canny/Lineart: When you want to preserve the precise outlines or structural integrity of unmasked areas, or even guide new shapes within masked areas.
- ControlNet Depth/Normal Map: Excellent for maintaining consistent 3D structure and lighting, crucial for ensuring the edited area integrates seamlessly with the original scene's spatial properties.
The strength of ControlNet (usually a weight parameter) needs careful tuning. For preserving existing elements, a high weight is often desirable. When trying to introduce new elements or make significant changes, a slightly lower weight might allow for more creative freedom while still retaining overall guidance.
Regional Prompting and IP-Adapters for Fine-Grained Control
Beyond global prompting, advanced techniques allow for more localized textual or stylistic influence:
- Regional Prompting (e.g., Attention Masking): Some custom ComfyUI nodes allow you to apply different prompts to different masked regions of an image. This is incredibly powerful for specifying details in a particular area without affecting others. For example, a prompt like `(beautiful hand:1.2)` applied only to a hand mask.
- IP-Adapters (Image Prompt Adapters): These allow you to feed a reference image's style or content as an additional condition to the generation process. If you have an example of well-rendered hands, an IP-Adapter can help guide the inpainting process to adopt that specific style or structure.
Strategic Denoising and Sampling
The `denoising strength` is arguably the most critical parameter in `img2img` editing. It determines how much noise is added to your original image before the diffusion process begins, effectively dictating how much the AI can change it.
- Low Denoising (0.2-0.4): Ideal for subtle corrections where you want to retain most of the original detail, like fixing minor blemishes or slight anatomical inaccuracies. The model has less 'room' to diverge.
- Medium Denoising (0.4-0.7): Suitable for more noticeable changes, such as altering a hairstyle or adding a small object. This range balances preservation with the ability to introduce new elements.
- High Denoising (0.7-1.0): Approaches pure `text2img` as the original image is heavily reinterpreted. This is rarely used for targeted consistency but might be employed for creative re-imagining of a masked region.
The choice of `sampler` and `scheduler` also plays a role. `DPM++ 2M Karras` and `Euler A` are popular choices for their balance of speed and quality. Experimentation is key, as different samplers can yield distinct textural qualities and coherence, especially within masked regions.
Model Selection: The Right Tool for the Job
The base model you use significantly impacts your results. For inpainting, specialized models are often superior:
- SDXL Inpaint: For Stable Diffusion XL, this model is fine-tuned specifically for inpainting tasks, providing better coherence and detail in edited regions compared to a standard SDXL checkpoint.
- Dedicated Inpainting Models (e.g., SD 1.5 Inpainting): For older SD 1.5 pipelines, these models are trained to blend edits seamlessly.
- Fine-tuned Checkpoints: If you're working within a specific aesthetic (e.g., anime, photorealism), using a fine-tuned model (LoRA, LyCORIS) that excels in that style will help maintain consistency across your edits. Ensure your inpainting model is compatible with any LoRAs you apply.
The Hand Problem: A Deep Dive into a Common Frustration
The difficulty of rendering realistic hands and fingers is a notorious challenge for generative AI, a legacy of complex anatomy, variable poses, and the sheer number of small, articulated parts. Even with advanced models, hands can emerge malformed, with extra digits, missing parts, or unnatural angles. Addressing this in ComfyUI requires a targeted, multi-pronged attack.
Consistency Impact: ControlNet & Masking Effectiveness
A hypothetical internal study by biMoola.net, based on user feedback and practical applications in late 2023, suggests the following improvements in image consistency for localized edits:
- Pure `img2img` (no masking, high denoising): ~20-30% consistency in preserving original elements.
- `img2img` with Pixel Mask (medium denoising): ~50-60% consistency in masked area, higher overall consistency.
- `img2img` with Latent Mask + Low Denoising: ~70-80% consistency for subtle adjustments.
- `img2img` with Latent Mask + ControlNet Inpaint (or OpenPose for hands): ~85-95% consistency, even for significant localized changes, assuming precise masks and appropriate control maps.
- Iterative Refinement with Multiple ControlNets: Can approach 95-99% consistency for highly detailed and complex edits.
Note: These percentages are illustrative and depend heavily on image complexity, prompt quality, and user expertise.
Specific ComfyUI Techniques for Perfecting Hands:
- Precise Masking: This is non-negotiable. Manually create a tight mask around the problematic hand in an external editor. Ensure it covers only the hand and a tiny bleed area. The more precise, the better.
- High-Resolution Inpainting: Often, hands fail because they are rendered at too low a resolution during initial generation. When inpainting, temporarily upscale the masked region (e.g., using a `Latent Upscale` node before decoding the VAE for the masked area) to give the model more pixels to work with, then downscale and blend back.
- ControlNet OpenPose (Hand Preprocessor): This is critical. Instead of relying solely on the model's understanding, *show* it the desired hand structure.
- If the original hand is already mostly correct, generate an OpenPose map from it.
- If the hand is severely malformed, you might need to use a reference image of good hands, generate an OpenPose map from that, and subtly guide the inpainting process with it.
- Look for ComfyUI custom nodes that offer specific hand-pose estimation, which can be more accurate than general OpenPose.
- Negative Prompting for Hands: Reinforce what you *don't* want. Add terms like `(mutated hands), (extra fingers), (deformed), (ugly, disjointed, malformed, broken hand:1.4)` to your negative prompt, possibly even applying it regionally if your ComfyUI setup allows.
- Iterative Refinement: Don't expect perfection in one go. Perform small inpainting passes. If the hand improves but isn't perfect, save the interim result, refine the mask if necessary, and run another inpainting pass with slightly adjusted prompts or denoising.
- Model Choice and LoRAs: Experiment with models known for better anatomy or consider using a LoRA specifically trained to improve hand rendering.
Crafting a Consistent Workflow: Practical Steps in ComfyUI
Here’s a generalized workflow for consistent, targeted editing in ComfyUI:
- Initial Image Load & VAE Decode: Load your original image and decode it into latent space using a VAE Decode node. This is your base.
- Mask Preparation:
- Load your black-and-white mask image (created externally or generated via segmentation tools).
- Use a `Load Image Mask` node (or similar) to convert it to a suitable format.
- Feed this mask into an `Apply Latent Mask` node, connecting it to your initial decoded latent image.
- ControlNet Setup (Optional but Recommended):
- For each ControlNet unit, load the original image into a `Load Image` node.
- Connect this image to a ControlNet preprocessor (e.g., `OpenPose Preprocessor`, `Canny Edge Detector`).
- Feed the preprocessed control image into a `ControlNet Loader` (with the appropriate ControlNet model).
- Connect the ControlNet outputs to your `Sampler` node.
- Prompting & Model Loading:
- Load your base model (e.g., `SDXL Inpaint` or `SD 1.5 Inpainting`).
- Load your VAE encoder.
- Create your positive and negative prompts using `CLIP Text Encode (Positive)` and `CLIP Text Encode (Negative)` nodes. Be very specific for your target area.
- Sampler Configuration:
- Connect your model, positive/negative conditioning, VAE, and latent image (with mask applied) to your chosen `KSampler` node.
- Set `denoise` to a low-to-medium value (e.g., 0.3-0.6).
- Select a reliable `sampler` (e.g., `dpmpp_2m_karras`) and `scheduler`.
- Set the desired `steps` (e.g., 20-30).
- VAE Encode & Image Save:
- The output of the `KSampler` (latent image) goes into a `VAE Encode` node (using your loaded VAE).
- This encoded image then goes into a `Save Image` node.
- Iterate and Refine: Examine the output. If not perfect, adjust your mask, prompt, denoising, or ControlNet weights, and re-queue the generation.
Performance and Efficiency: Optimizing Your Workflow
While ComfyUI offers immense control, it can also be resource-intensive, especially for SDXL models with multiple ControlNets. Optimizing your workflow is key to efficiency:
- VRAM Management: SDXL with multiple ControlNets can easily demand 24GB or more of VRAM. Monitor your GPU usage. If you're VRAM-constrained, consider using smaller models (e.g., SD 1.5 for complex hand edits), reducing batch sizes, or offloading models to CPU memory (though this is slower). Custom nodes like `Free Useless VRAM` can help.
- Batch Processing: For minor variations or testing different prompts/denoising values, utilize batching in your `KSampler` node. This generates multiple images in one go, saving loading times between runs.
- Workflow Templates: Save your perfected workflows as JSON files. This allows instant recall and modification for future projects, reducing setup time significantly.
- Prompt Engineering: Even for `img2img`, well-crafted prompts are crucial. Be concise but descriptive, prioritizing keywords related to your target edit.
- Pre-rendering Control Maps: For complex ControlNet maps (e.g., depth maps, OpenPose), consider pre-rendering them once and loading them as static images rather than re-calculating with each generation.
Key Takeaways
- Masking is Fundamental: Utilize precise pixel and latent masks to define your editing boundaries.
- ControlNet is Your Co-Pilot: Leverage Inpaint, OpenPose, Canny, and Depth ControlNets to maintain consistency and guide specific structural changes.
- Denoising Strength is Critical: Fine-tune this parameter to control the degree of change—low for subtle, higher for more transformative edits.
- Iterate and Refine: AI editing is rarely a one-shot process. Embrace iterative adjustments to masks, prompts, and parameters.
- Model Choice Matters: Opt for specialized inpainting models or fine-tuned checkpoints for optimal results in specific scenarios.
Expert Analysis: The Convergence of Precision and Creativity
The journey from rudimentary `img2img` to the precision-guided editing now possible with ComfyUI and ControlNet represents a significant leap forward in generative AI. What was once a 'black box' process yielding unpredictable results has evolved into a sophisticated toolkit for digital artisans. From my perspective, this shift isn't just about technological advancement; it's about empowering human creativity.
The initial hype around AI generating 'anything' has matured into a demand for AI generating 'exactly what I want.' ComfyUI, by exposing the underlying mechanics and offering modular control, addresses this demand head-on. It transforms the AI from a whimsical oracle into a highly skilled, albeit complex, assistant. The learning curve is undeniable, but the payoff is immense: the ability to execute a precise artistic vision without compromise. We're moving beyond mere 'AI art' towards 'AI-assisted art,' where the human hand, guided by expertise and informed by sophisticated tools, remains firmly on the tiller. The focus on elements like hands, which were once the AI's Achilles' heel, demonstrates this evolution—the community's relentless pursuit of perfection, pushing the technology to overcome its inherent limitations. This convergence of technical precision and artistic intent is where the true magic of next-generation AI image creation will unfold, fostering a new era of digital craftsmanship.
Q: Why is ComfyUI better for targeted editing than other tools like Automatic1111?
A: ComfyUI's node-based interface provides a granular, step-by-step control over the entire image generation and manipulation pipeline. Unlike Automatic1111, which often abstracts complex processes into simpler tabs, ComfyUI allows you to explicitly define every connection, from model loading and masking to ControlNet application and sampling. This explicit control is crucial for targeted edits, as it lets you precisely isolate areas, apply specific conditions, and fine-tune parameters without unintended global effects, leading to much more consistent and predictable results.
Q: How do I create an effective mask for intricate details like fingers?
A: For highly intricate details such as fingers, manual masking in an external image editor like Adobe Photoshop, Krita, or GIMP is often the most effective method. Use a brush with a hard edge and carefully trace around the desired area. Ensure the masked area is pure white and the unmasked area is pure black. For even more precision, utilize features like pen tools or selection masks in your editor. While AI segmentation tools exist, manual refinement often produces the tightest, most accurate masks required for seamless integration in ComfyUI.
Q: What's the biggest mistake people make when trying to fix hands with AI?
A: The biggest mistake is often relying on high denoising strength without sufficient structural guidance. Users might apply a general inpainting model with a high denoising value over a hand, hoping the AI will 'fix' it. However, without a precise mask, ControlNet guidance (especially OpenPose for hands), and specific negative prompts, the AI is likely to reinterpret the entire area, often resulting in new, equally distorted or even worse outcomes. The key is to provide the AI with as much specific instruction as possible about the desired structure and appearance of the hand.
Q: Can I use multiple ControlNet units for a single targeted edit?
A: Absolutely, and it's often recommended for complex targeted edits! For instance, you could use ControlNet Inpaint with a mask to localize the edit, OpenPose to guide the hand's pose and articulation, and Canny or Depth to preserve the contours or 3D structure of the surrounding unmasked elements. ComfyUI's modularity makes stacking multiple ControlNets straightforward; you simply connect each ControlNet unit's output (conditioning) to the `Sampler` node, allowing them to collectively guide the diffusion process. Just be mindful of the VRAM requirements when using many ControlNets simultaneously.
Sources & Further Reading
Disclaimer: For informational purposes only. Consult a healthcare professional.
Comments (0)
To comment, please login or register.
No comments yet. Be the first to comment!